
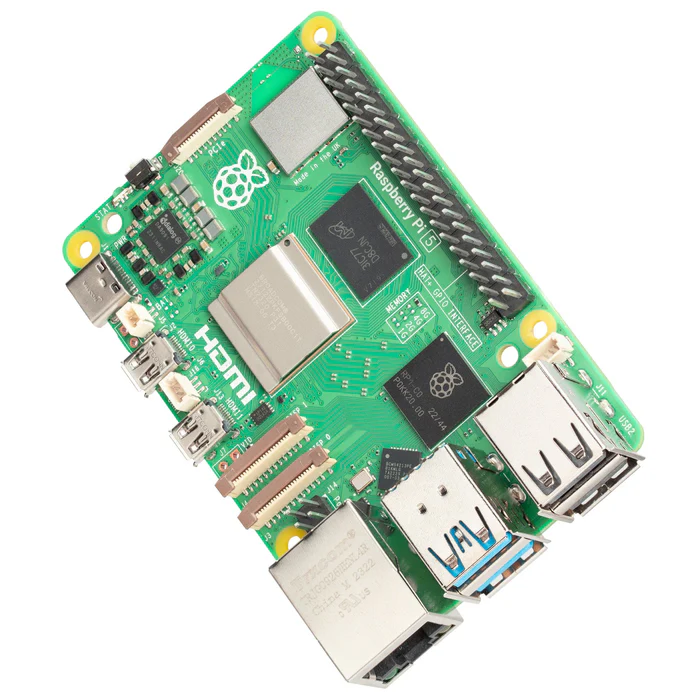
Raspberry Pi 5 Development Board 2GB 4GB 8GB
• Processor: Quad-core ARM Cortex-A76 (1.8 GHz) • RAM: 2GB, 4GB, 8GB LPDDR4x • Storage: MicroSD card slot • USB Ports: 2x USB 3.0, 2x USB 2.0 • Networking:…
- Delivery in 2 to 4 working daysFree in Islamabad & Rawalpindi above Rs 5,000
- Cash on deliveryPay when your parcel arrives
- 7-day checking warrantyDead-on-arrival items replaced
- Packed with careAnti-static & padded packaging
Highlights
- MicroSD card (at least 16GB recommended)
- USB-C power supply (5V, 3A)
- HDMI cable (micro-HDMI to HDMI)
- Monitor/TV
- Keyboard and mouse
- Use a tool like Balena Etcher or Raspberry Pi Imager to write the OS image to the microSD card.
- Ensure the card is properly ejected after writing.
- Plug your keyboard and mouse into the USB ports.
Specifications
- Processor
- Quad-core ARM Cortex-A76 (1.8 GHz)
- RAM
- 2GB, 4GB, 8GB
- Storage
- MicroSD card slot
- USB Ports
- 2x USB 3.0, 2x USB 2.0
- Networking
- Gigabit Ethernet, dual-band 802.11ac Wi-Fi, Bluetooth 5.0
- Video Output
- 2x micro-HDMI (up to 4Kp60)
- Audio Output
- 3.5mm audio jack, HDMI audio support
- GPIO
- 40-pin GPIO header
- Power Supply
- 5V USB-C (minimum 3A)
- Dimensions
- 85.6mm x 56.5mm
About this product
50% Advance Payment Required
The Raspberry Pi 5 is a powerful and versatile mini-computer designed for a wide range of applications, from education and hobby projects to advanced computing tasks. With 2GB, 4GB, and 8GB LPDDR4x RAM, it provides ample memory for multitasking and running memory-intensive applications, making it ideal for developers, makers, and educators.
•Connectivity:
The Raspberry Pi 5 with 8GB of RAM is a significant step forward in the Raspberry Pi lineup, providing enhanced performance and capabilities for a variety of projects and applications. Whether you’re a beginner or an experienced developer, the Raspberry Pi 5 opens up endless possibilities for creativity and innovation.
How to Use the Raspberry Pi 5 8GB RAM Mini Computer Development Board
•Gather Necessary Components:
•Raspberry Pi 5 board
•Prepare the MicroSD Card:
•Download an operating system image (e.g., Raspberry Pi OS) from the official Raspberry Pi website.
•Insert the MicroSD Card:
•Insert the prepared microSD card into the microSD card slot on the Raspberry Pi 5.
•Connect Peripherals:
•Connect the HDMI cable from the Raspberry Pi to your monitor or TV.
•Power Up:
Related searches
You may also need
More Dev Boards →


Raspberry Pi & SBCs
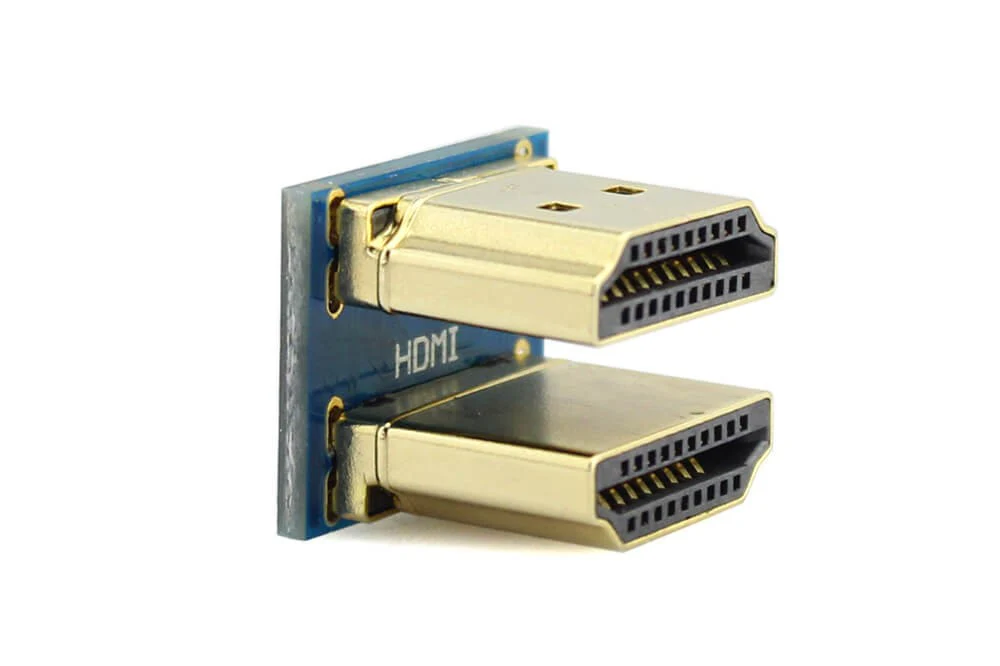
HDMI to HDMI Connector for 5 inch Raspberry Pi Screen Connection with Raspberry Pi 3Rs 500


Raspberry Pi & SBCs
NIVDIA JETSON NANO B01 4GB Ram Developer Kit based on JETSON NANO 16GB EMMC Module BoardRs 75,000
