Raspberry Pi & SBCsCode 8e30c170d9
Aluminum Alloy Armor Case for Raspberry Pi 4B Heatsink Cooler Case with Dual PWM Cooling Fan for Raspberry Pi 4 8GB/4GB/2GB
If you’d like a sturdy, handsome case to go with your new Pi 4, and the passively-cooled version of this case is not enough for your high-performance needs,…
- Delivery in 2 to 4 working daysFree in Islamabad & Rawalpindi above Rs 5,000
- Cash on deliveryPay when your parcel arrives
- 7-day checking warrantyDead-on-arrival items replaced
- Packed with careAnti-static & padded packaging
Highlights
- Anodised aluminum
- Heatsink fins
- Thermal pads
- Dual 5V fans
- Easy assembly
- Made for the Raspberry Pi 4
- All ports, pins & connectors are accessible
- Hex bolts & Allen key included
About this product
If you’d like a sturdy, handsome case to go with your new Pi 4, and the passively-cooled version of this case is not enough for your high-performance needs, take a look at this one.
1x Aluminium Alloy Case
1x Dual Fan
3x Thermal Pads
1x Assembly Screw Set
1x Mini Wrench
Assembly of your heatsink should be quick and easy. First and foremost, make sure your Raspberry Pi 4 is powered off and unplugged.
Next, take a thermal pad, peel off the protective covers and attach to the CPU of your Raspberry Pi. If you would like, you can attach thermal pads to the DDR4 RAM chip, however, it isn’t a necessity.
Finally, you will need to position the top half of the case with the correct orientation, while simultaneously positioning the bottom half underneath your Pi. Grab your hex screws and trusty hex key, secure your new Pi heatsink case in place. If after assembly there is a visible gap between the CPU and the heatsink, disassemble and use an additional thermal pad.
Connect the fan wire as shown below (the orientation of red & black will control which direction the fan blows. They can be reversed).
For a video demonstration of the assembly process, check out this great tutorial !
•The metal case is conductive of both heat and electricity. Take care when building circuits not to short any components.
•As a conductor of heat, the case will get warm during use, though you’ll be hard-pressed to ever see an “over temperature”…
Related searches
You may also need
More Dev Boards →

Raspberry Pi & SBCs
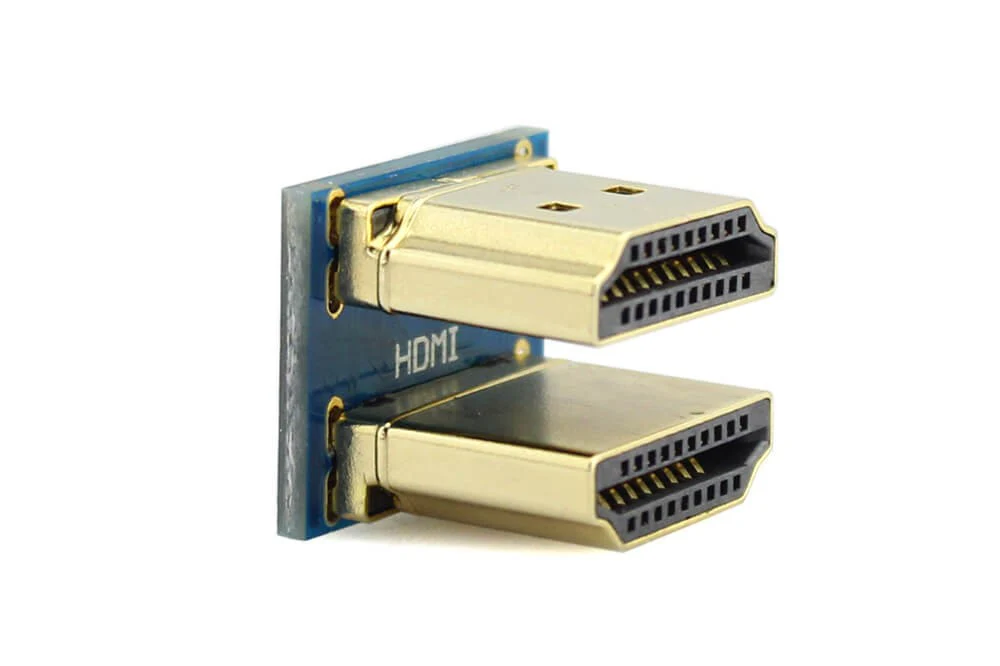
HDMI to HDMI Connector for 5 inch Raspberry Pi Screen Connection with Raspberry Pi 3Rs 500


Raspberry Pi & SBCs
NIVDIA JETSON NANO B01 4GB Ram Developer Kit based on JETSON NANO 16GB EMMC Module BoardRs 75,000